Upgrading Your AR-15: From Delta Ring to Free Floating Handguard

03/2024
???? 3 mins
Free Floating Handguard

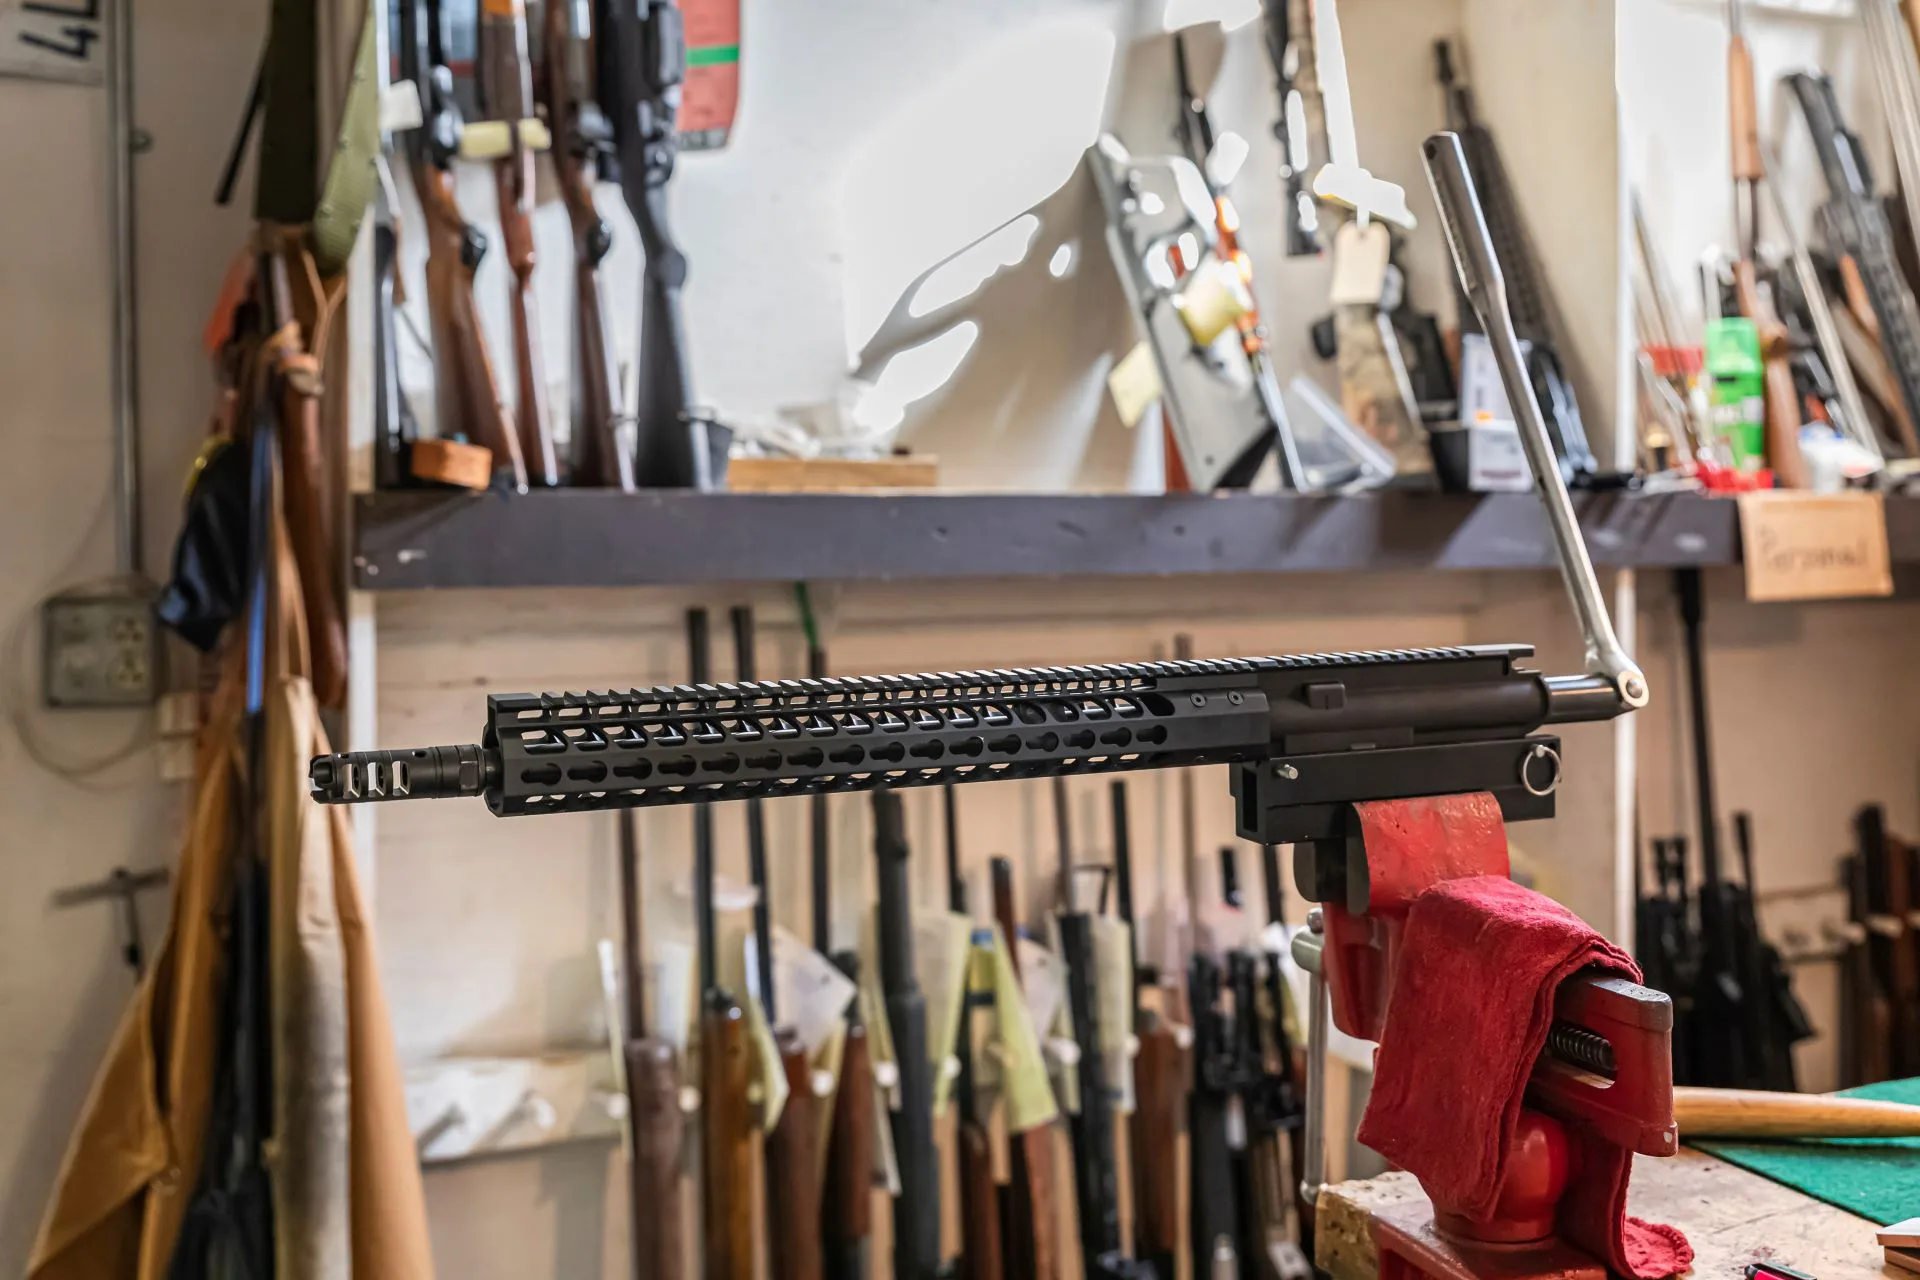
When it comes to AR-15 customization, swapping out the handguard for a free-floating version is like unlocking a new level of performance. Unlike traditional handguards that are in direct contact with the barrel, free-floating handguards eliminate any potential for accuracy-reducing pressure points. This upgrade is not just for the experienced gunsmith; with the right tools and a bit of patience, anyone can achieve a professional result. Let’s get started.

Preparing for the Upgrade

Tools and Materials

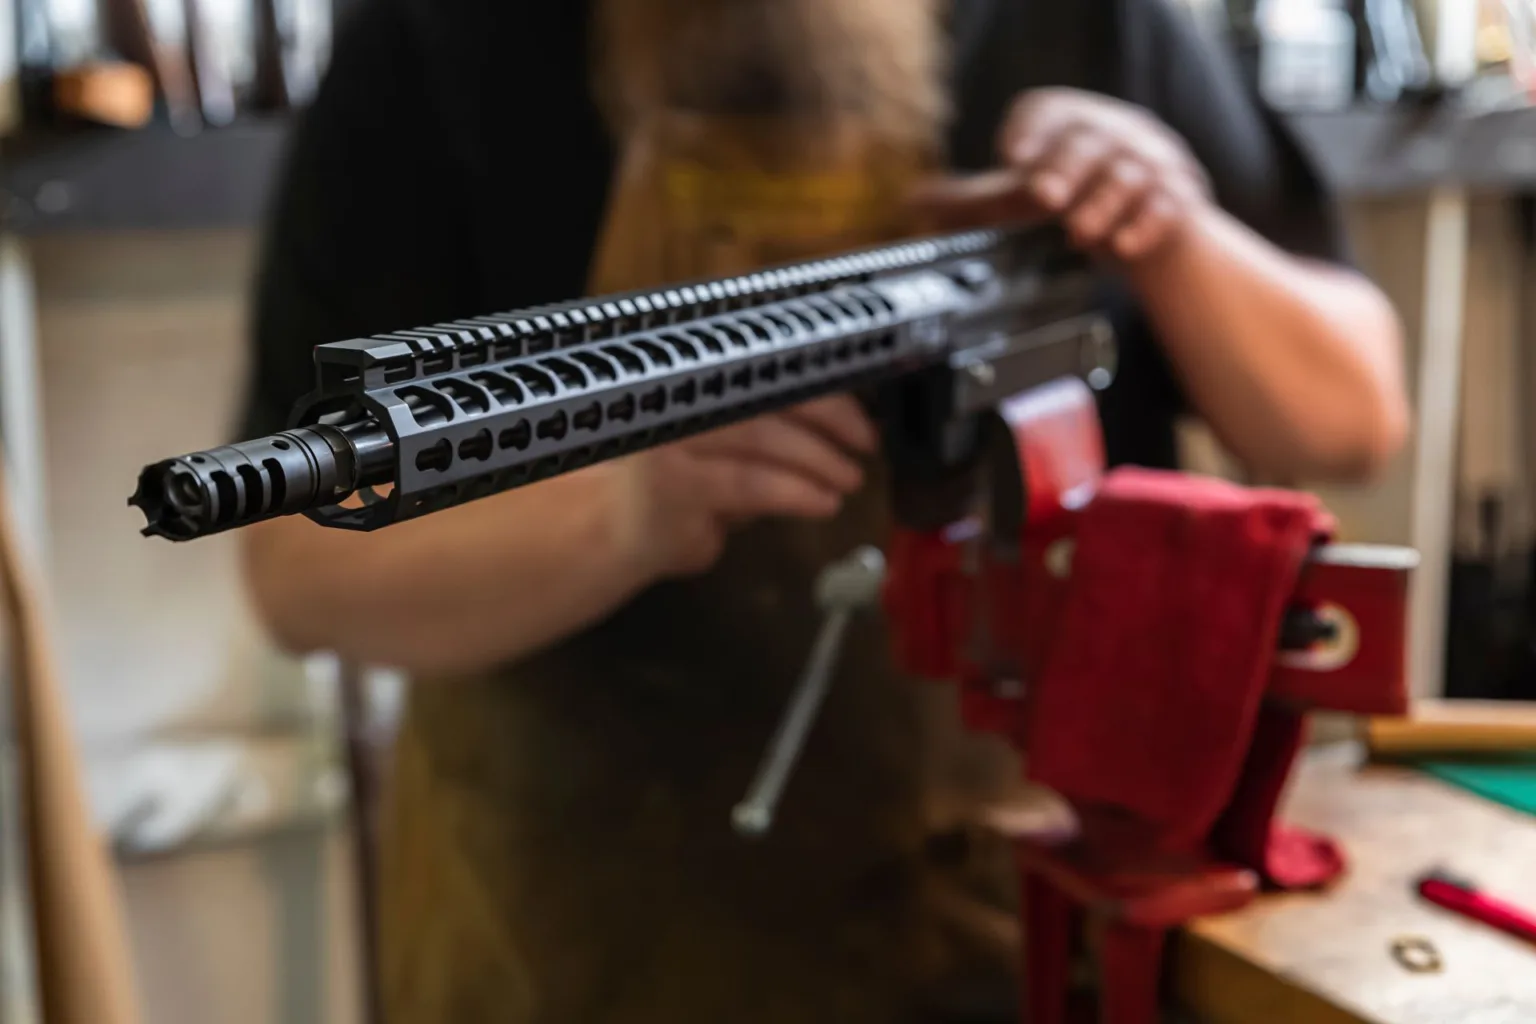
Before you begin, ensure you have all the necessary tools and materials. You’ll need:

  • A bench vise
  • AR-15 armorer’s wrench
  • Torque wrench
  • Punch set
  • Hammer
  • Screwdriver set
  • Allen keys or hex wrenches (depending on your new handguard’s requirements)
  • Heat gun (optional, for stubborn delta rings)
  • New free-floating handguard of your choice
  • Low-profile gas block (if your existing A-post front sight is not detachable or if you prefer a cleaner look)

Safety First

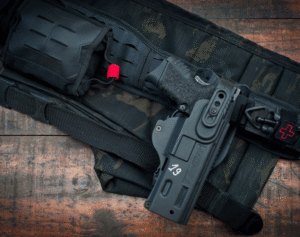
Safety is paramount. Ensure your rifle is unloaded before beginning any work. Remove the magazine, pull back the charging handle to check the chamber, and keep the firearm pointed in a safe direction throughout the process.

A picture of AdobeStock 406328920 with USA Gun Store

Disassembly

Removing the Old Handguard

  1. Secure the Rifle: Place your AR-15 in the bench vise using appropriate protective blocks to avoid marring the finish.
  2. Remove the Existing Handguard: Press down on the delta ring using the armorer’s wrench or your hands, and carefully remove the two-piece handguard.

Detaching the Front Sight and Delta Ring Assembly

  1. Front Sight Removal: If your AR-15 is equipped with an A-post front sight, use a punch and hammer to remove the pins holding it in place. Some models may require the removal of the gas tube beforehand.
  2. Delta Ring Assembly Removal: Unscrew the barrel nut using the armorer’s wrench. This step might require some force, and a heat gun can be used to loosen tight components. Be cautious not to damage the upper receiver or the barrel.

Installation of the Free-Floating Handguard

Installing the New Barrel Nut

  1. Prepare the New Handguard: Unpack and review the installation instructions for your specific model of free-floating handguard.
  2. Apply the Barrel Nut: Place the new barrel nut that came with your handguard onto the barrel. Ensure it’s properly aligned and seated. Using the torque wrench, tighten the barrel nut to the manufacturer’s specified torque setting. This ensures proper alignment and secure fitment.

Setting Up the Low-Profile Gas Block

  1. Installation: If your upgrade includes a new low-profile gas block, now is the time to install it. Slide the gas block onto the barrel, ensuring it aligns with the gas port. Secure it in place according to the manufacturer’s instructions, usually involving set screws or pins.
  2. Reattach the Gas Tube: If removed, reinsert the gas tube into the gas block, ensuring proper alignment with the upper receiver’s gas key.

Attaching the Handguard

  1. Final Assembly: With the barrel nut in place and the gas block secured, slide the new free-floating handguard onto the barrel and over the barrel nut. Align it according to the manufacturer’s specifications and secure it using the provided mounting hardware.
  2. Final Checks: Ensure everything is tight and properly aligned. Double-check the security of all screws and pins.

A picture of AdobeStock 161994647 with USA Gun Store

There You Have It

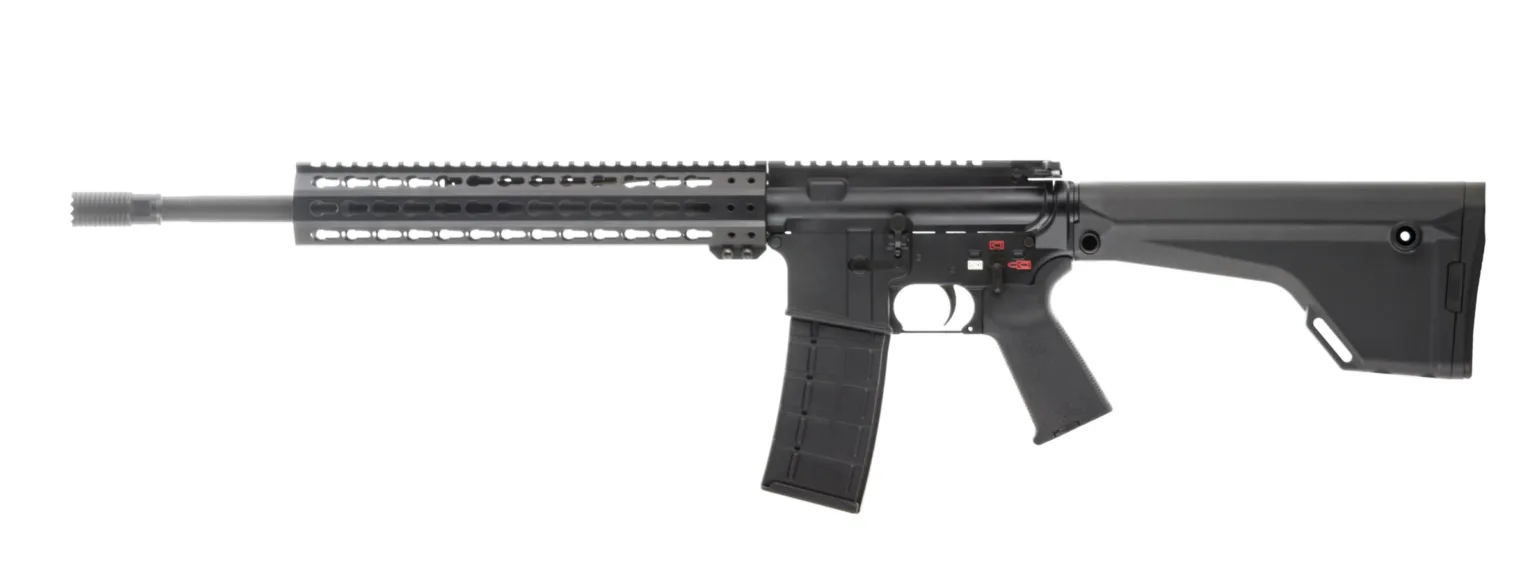
Congratulations, you’ve successfully upgraded your AR-15 to feature a sleek, more accurate free-floating handguard. This upgrade not only enhances the look and feel of your rifle but significantly improves its performance, especially in precision shooting scenarios. Like any firearm modification, take your time, follow the steps carefully, and always prioritize safety. Enjoy the enhanced performance and personalization this upgrade brings to your AR-15, and remember, the best improvements are those that meet your specific needs and shooting style.

Share with:
Related posts
More about Accessories
<?php

// Get the current post's categories
$post_categories = get_the_category();

// Find the parent category of the current post's categories
$parent_category = null;
foreach ($post_categories as $category) {
    if ($category->parent == 0) {
        $parent_category = $category;
        break;
    }
}

// Get the children categories of the parent category
if ($parent_category) {
    $args = array(
        'parent' => $parent_category->term_id, // Get children categories of the parent category
        'hide_empty' => 0,                     // Get categories even if they have no posts
    );

    $children_categories = get_categories($args);

    // Prepare an array to hold the children category IDs
    $children_category_ids = array();

    // Loop through each child category and add its ID to the children array
    foreach ($children_categories as $child_category) {
        $children_category_ids[] = $child_category->term_id;
    }

    add_filter('bricks/terms/query_vars', function ($query_vars, $settings, $element_id) use ($children_category_ids) {
        // Get only the children categories of the current post's parent category
        if ($element_id == 'jnniub') {
            $query_vars['include'] = $children_category_ids;
        }
    
        return $query_vars;
    }, 10, 3);
}

?>
Welcome to USA Gun Store, in order to browse our site you must be at least 18 years of age.
Are you at least 18 years old?
No
Your Cart

No products in the cart.